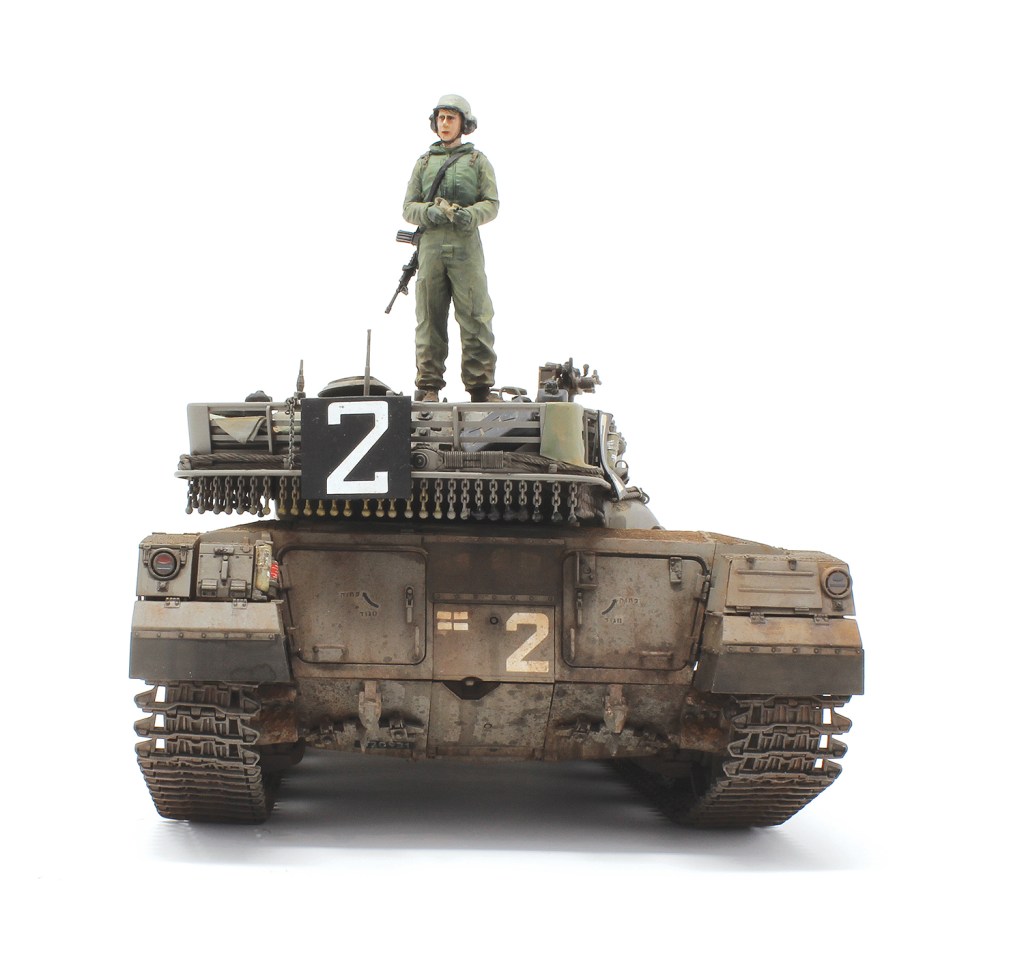
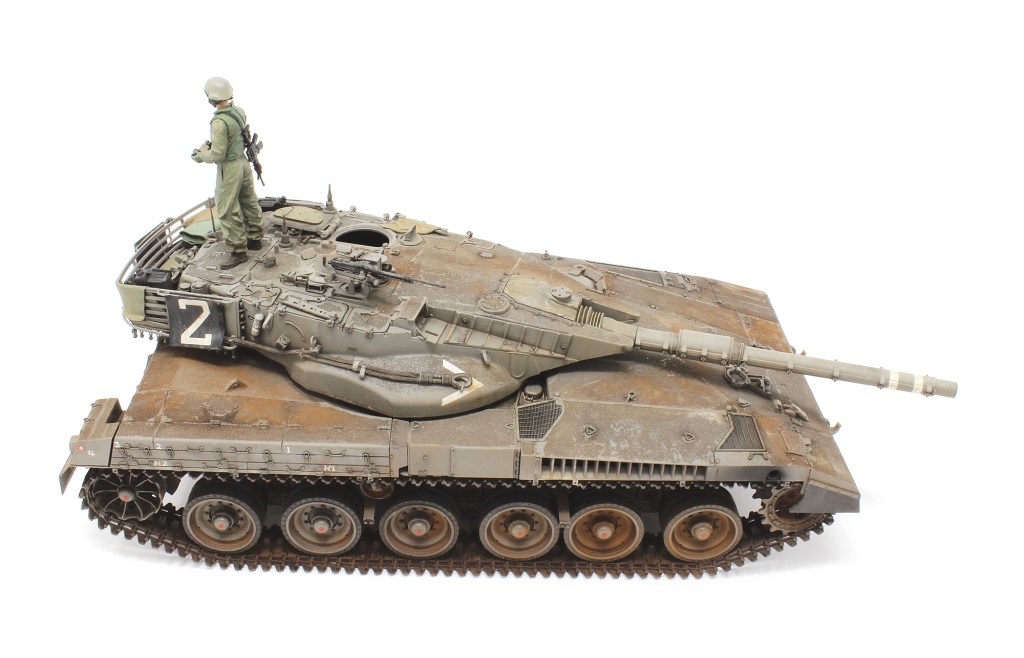
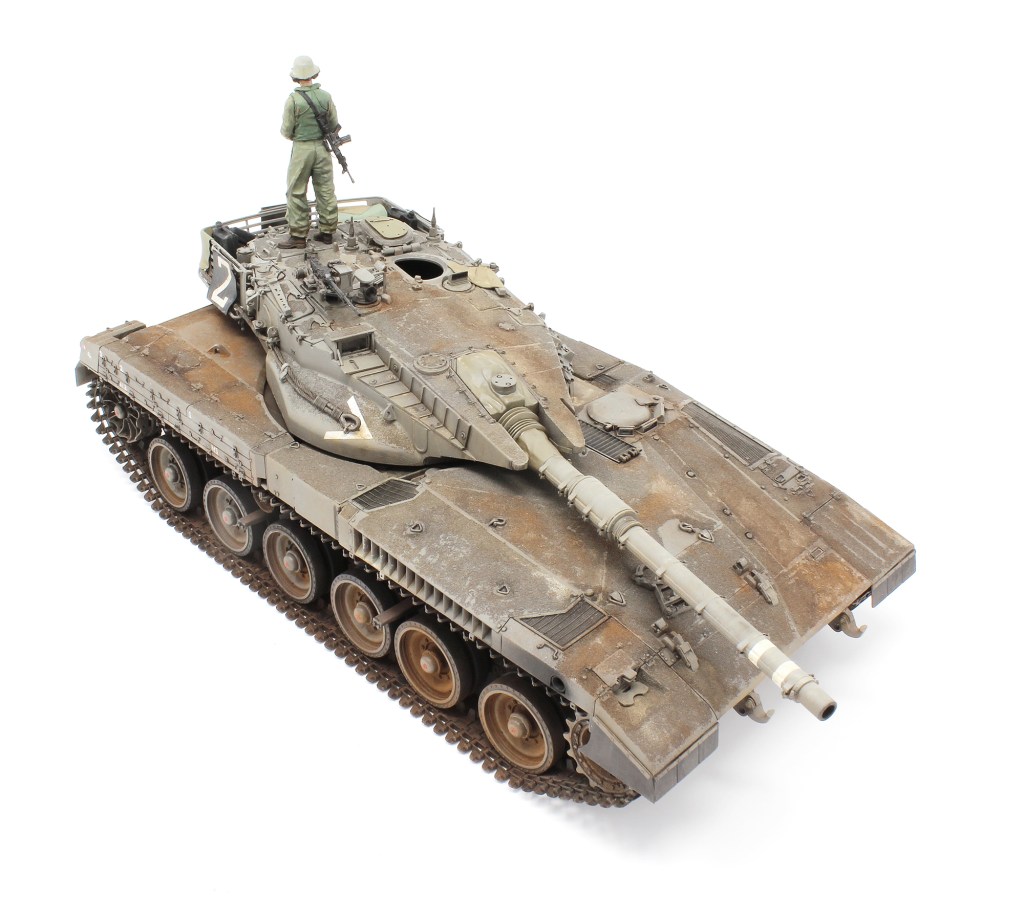
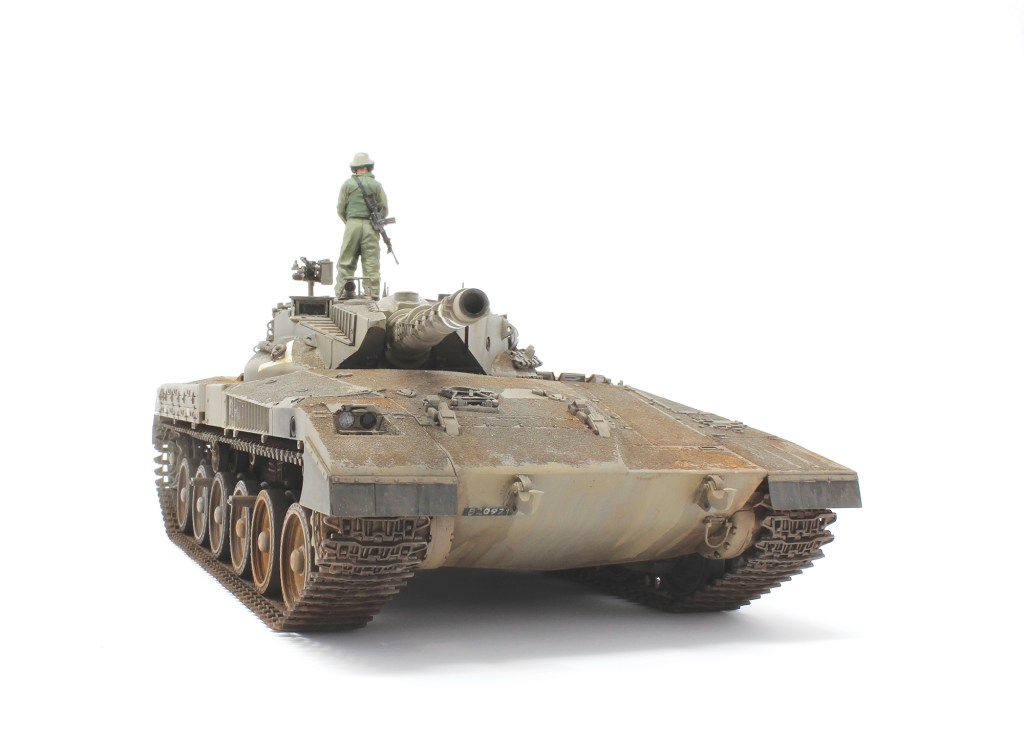
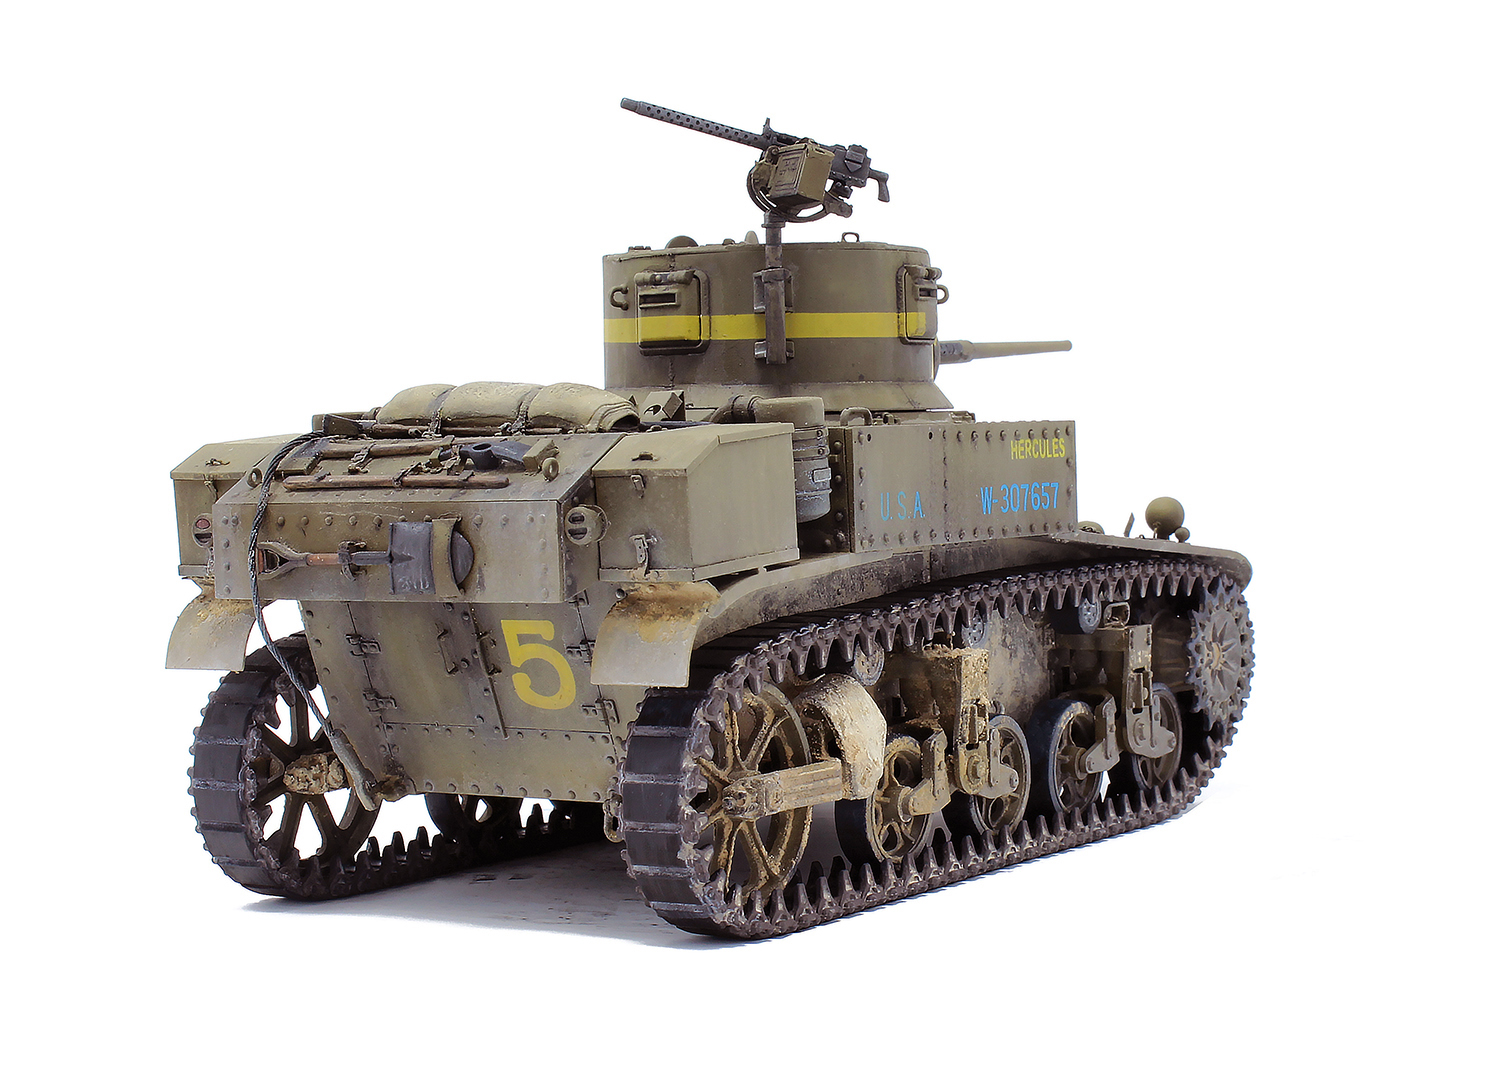
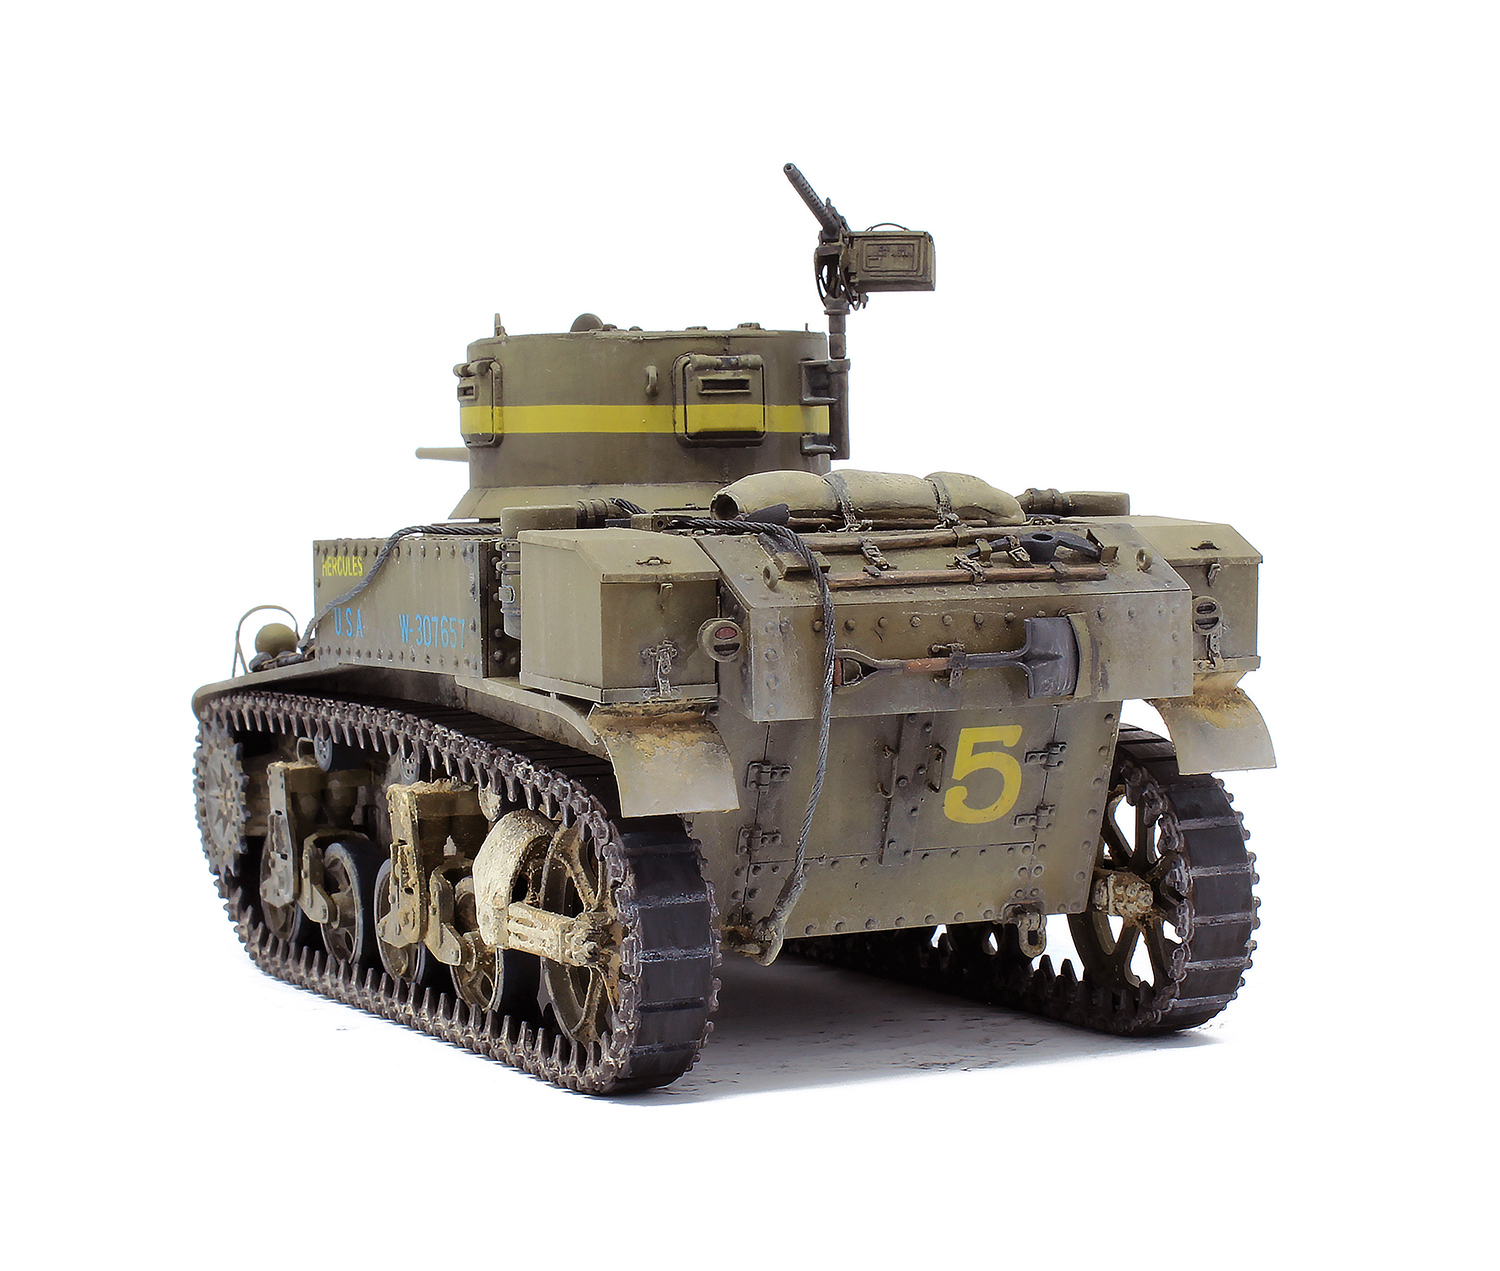
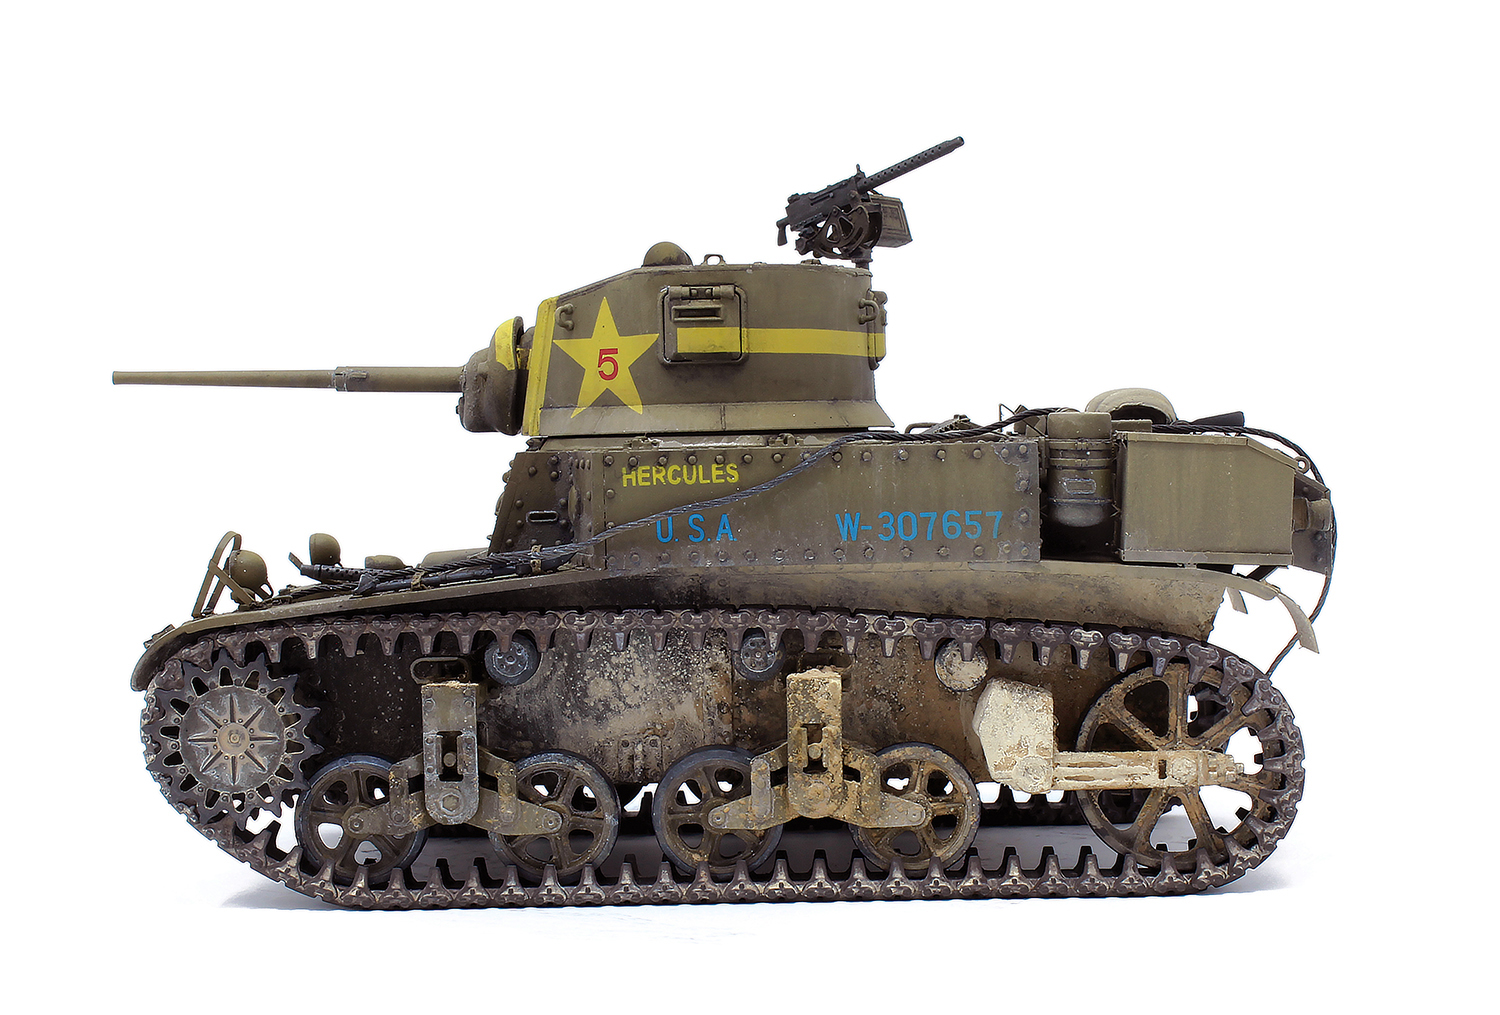
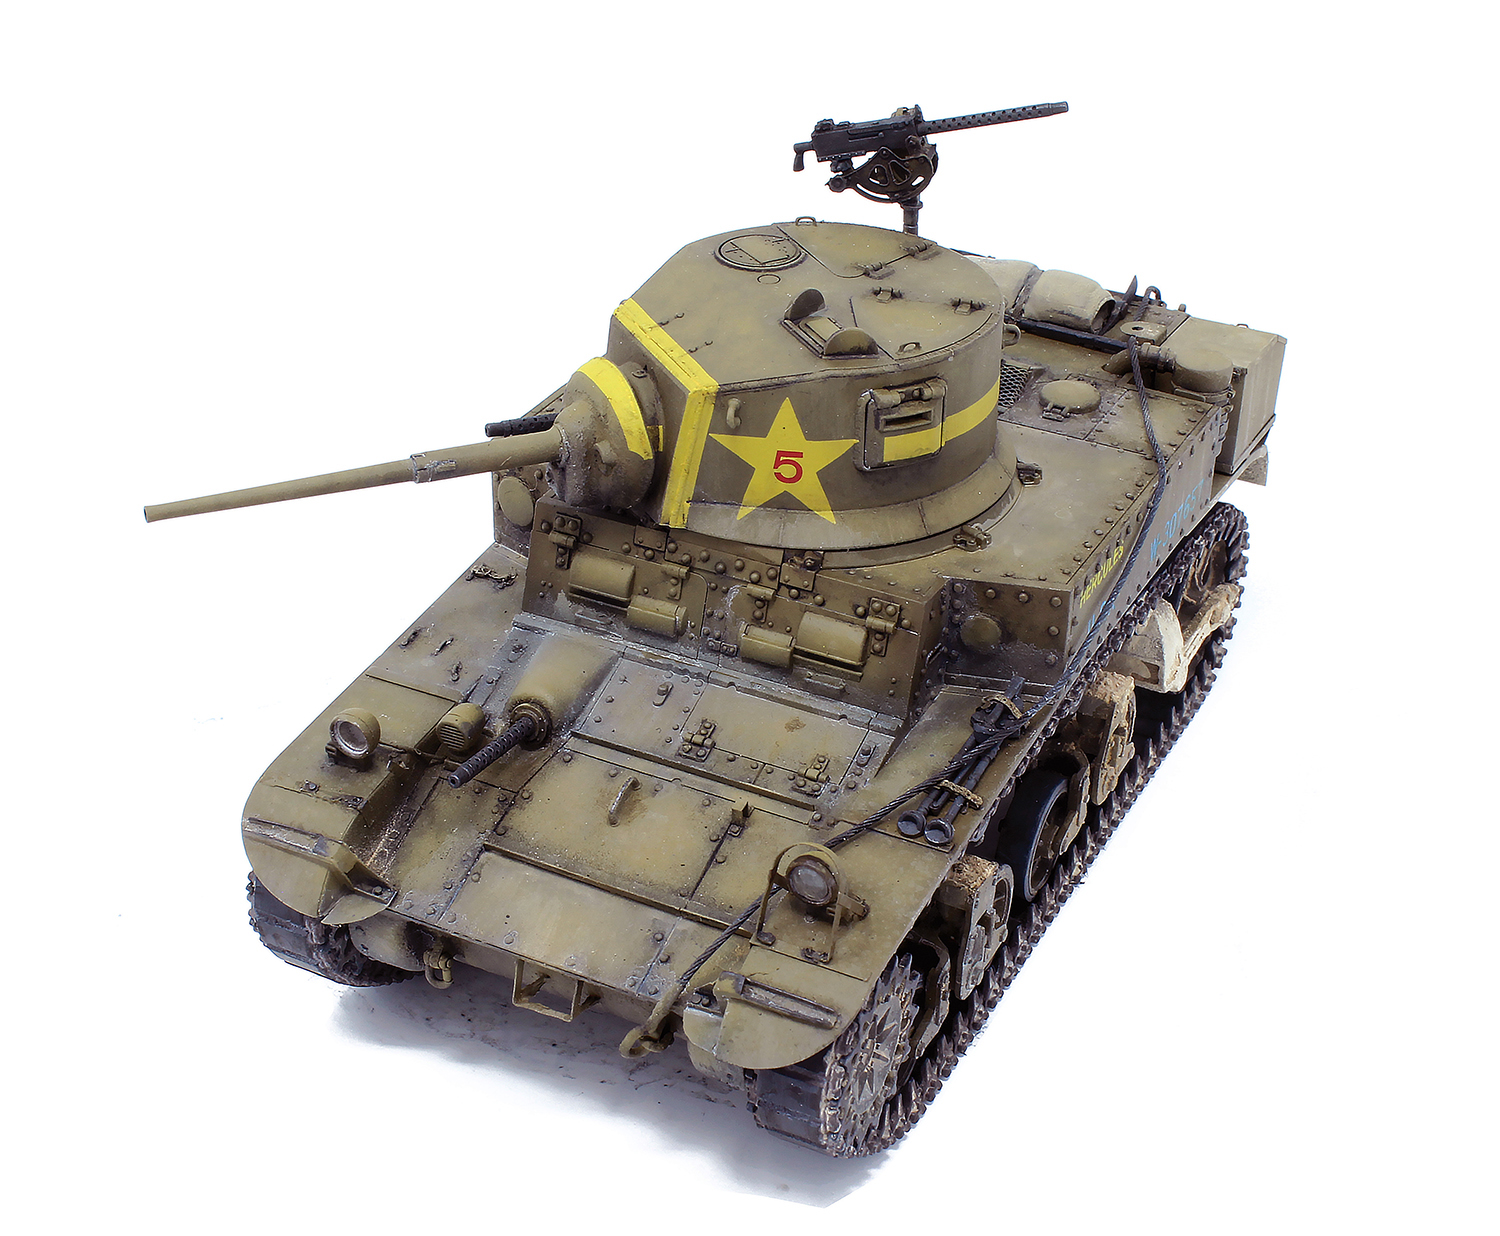
This is Tamiya’s 2018 iteration of the M3 Stuart. A very nice kit, with some PE additions. I made it a ‘semi-fictional’ tank of the 1st Armored Division in North Africa. Tamiya’s kit depicts El Diablo, I chose to portray fictional albeit, dare I say, quite plausible, Hercules.

I had some trouble deciding exactly what vehicle to represent. My initial intention was to portray a vehicle States bound in the massive manoeuvers prior to America’s baptism of fire in Africa, but I unexpectedly discovered that a Late production M3 is a rather elusive variety since it’s got most characteristics of the M3A1 but not quite. It was not easy to get references on this specific sub-variant. Steven Zaloga’s Osprey book on the Stuart deals with El Diablo but I, unfortunately, do not possess this book, so I had to make do without it.

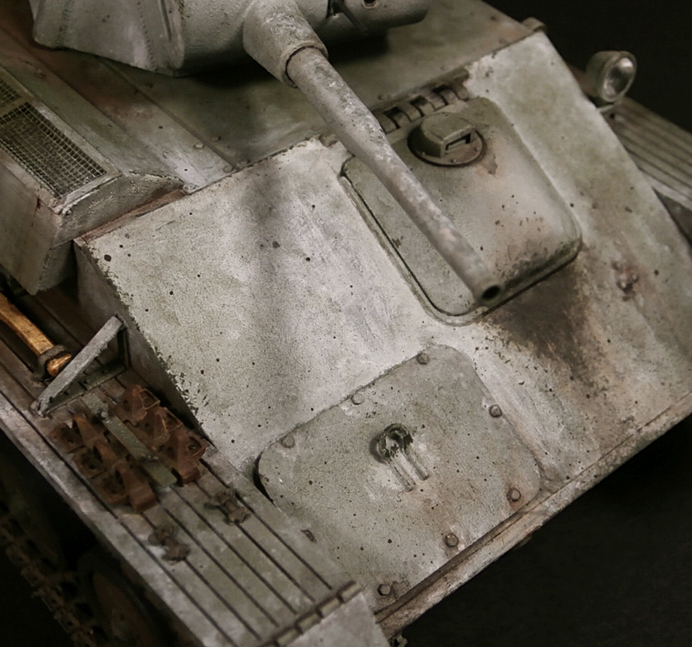
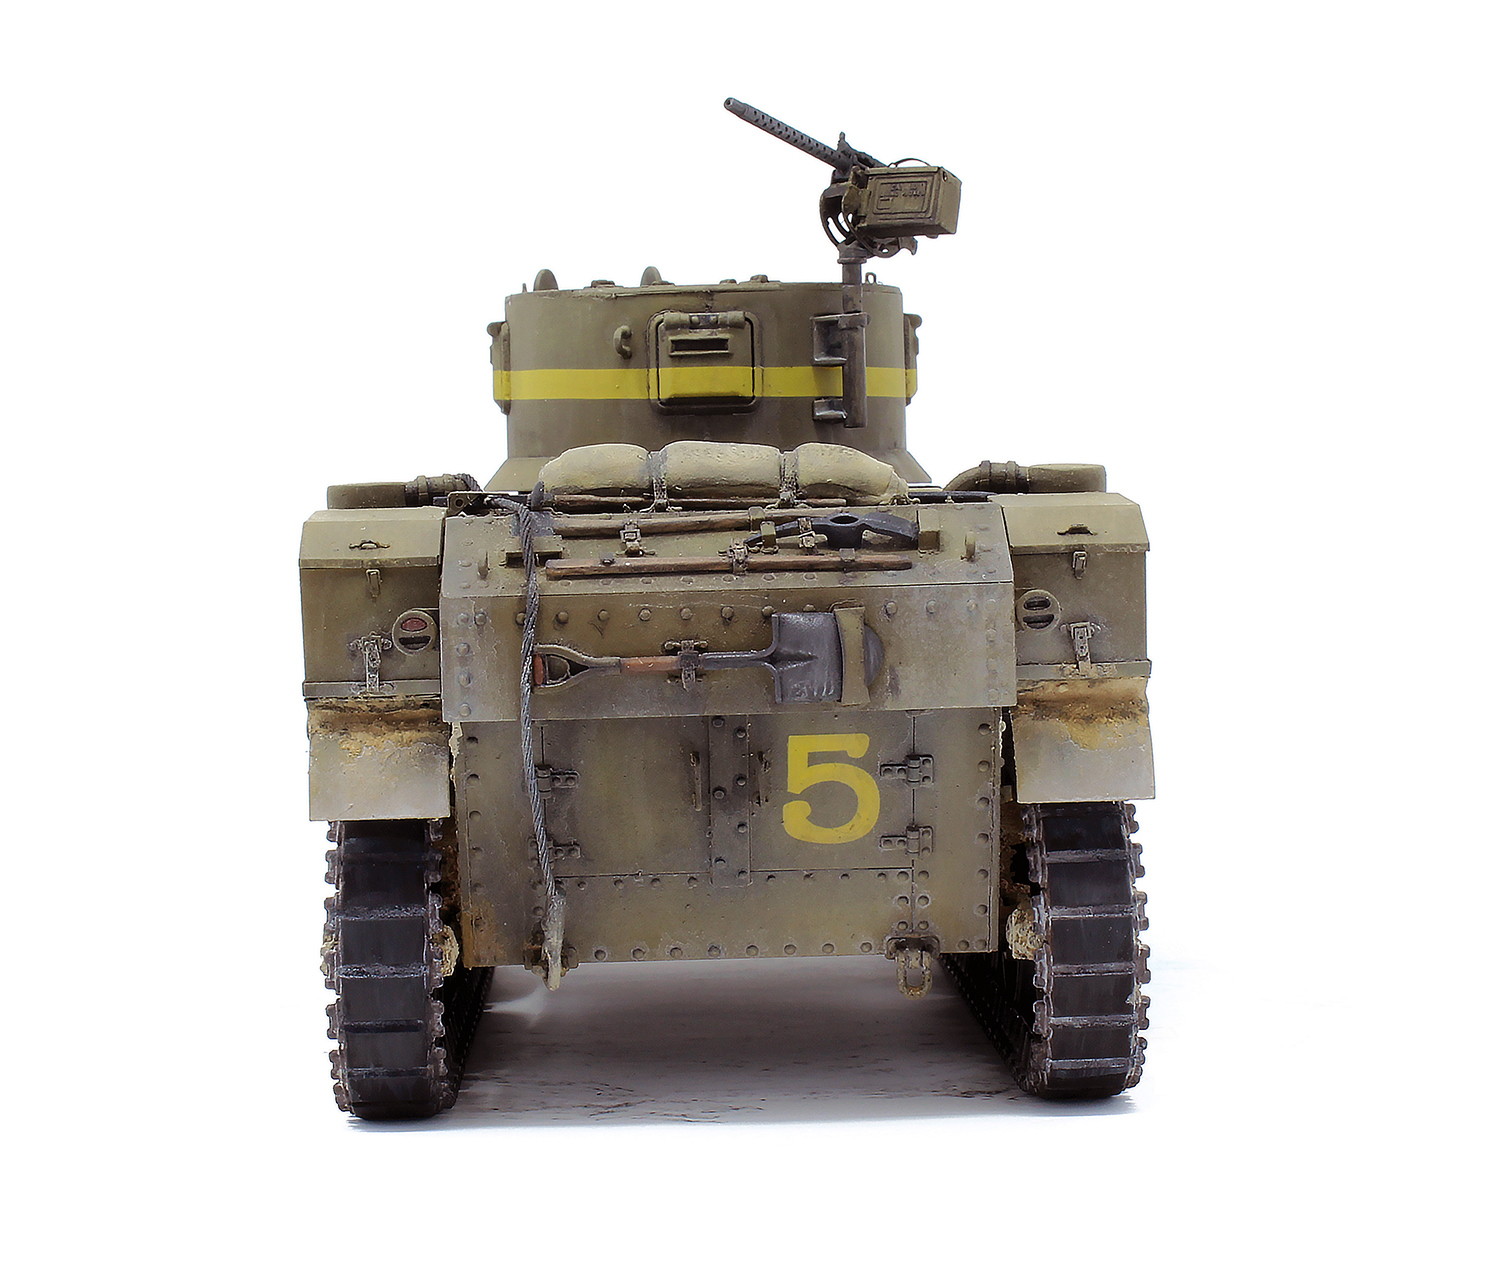
When I realized that most, if not all the references I had of North African Stuarts showed them with the fuel tanks add-on, and I had omitted to mount what appears to be the braces to secure them in place on the sponsons, I decided to go for an undocumented callsign 🙂 .
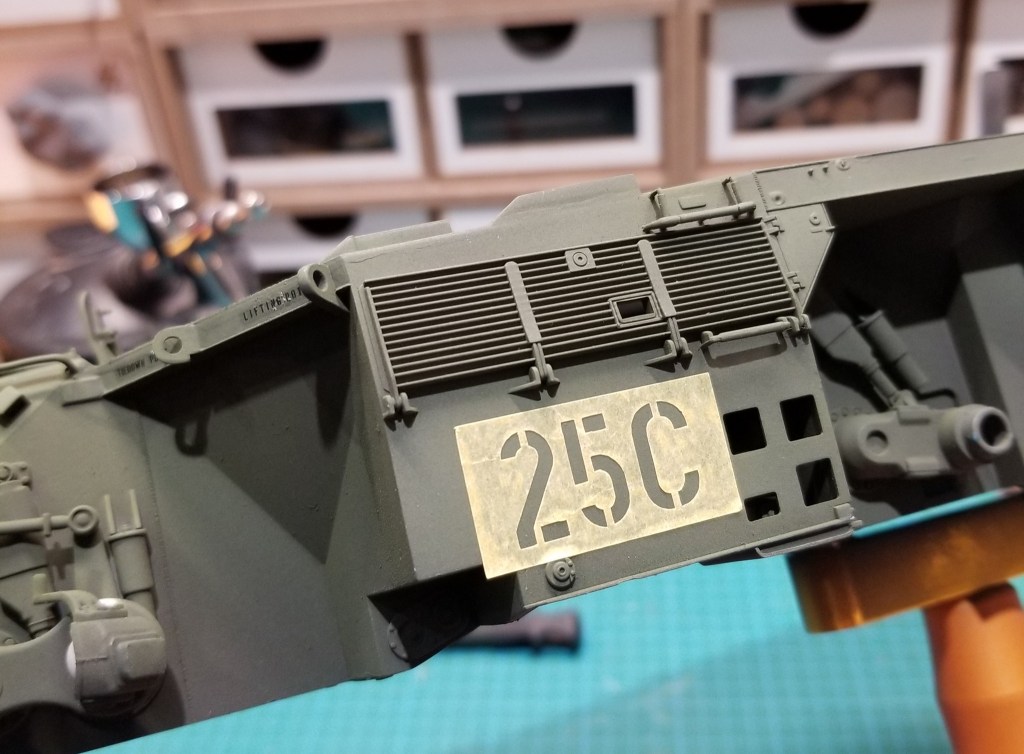
If you look carefully, you’ll also note that the last digit of Hercules‘ serial isn’t perfectly aligned *innocently whistling*.


References
Doyle, David. Stuart Tank Vol. 1 – The M3, M3A1, and M3A3 Versions in World War II, Legends of Warfare: Ground series, Schiffer Publishing, 2019, 112 pages, 9780764356605.
Collier, Richard, The War in the Desert, Time-Life World War II collection, 1977, p.177.
Prime Portal Armor
- M3 Stuart Light Tank Walkaround by Jeremy Wee
- M3 Stuart Walkaround by Gino Marcomini
- M3A1 Stuart Walkaround by Martin Noorloos
- M3A1 Walkaround by Dan Reed
- M3A1 Stuart Walkaround by Greg Smith
- M3 Honey Walkaround by Adam Vukich